

How to Hem Jeans for Petite Legs Without Losing the Original Hem
If you’re petite, you already know the drill. You find jeans that fit your waist and hips just right, and then the legs pool at your ankles in a heap of denim. Most tutorials tell you to cut the hem off and sew a brand new one, but that means losing the factory stitching, the fading, and that slightly worn edge that makes the jeans look store-bought instead of homemade. There is a better way. This guide shows you how to hem jeans for petite legs by folding the extra length up on the inside and tucking it behind the original hem, so from the outside, nothing looks touched.
You will need a sewing machine for this, though a strong hand-sewing needle works in a pinch. The actual sewing takes under 20 minutes once your jeans are pinned and pressed. The part that takes patience is the pinning and pressing, because an uneven fold shows. Grab the jeans that have been sitting in your closet unworn because they’re too long, and let’s get them wearable again.
What You Need
- The jeans you want to hem
- Straight pins (at least 15-20)
- A tape measure or ruler
- Tailor’s chalk or a fabric marking pen
- An iron and ironing board
- A sewing machine with a denim or heavy-duty needle
- Matching thread (or contrast thread for a topstitched look)
- Sharp fabric scissors
At a Glance
- Try on and pin the new length
- Measure and mark the excess
- Turn the jeans inside out
- Fold the excess up to the original hem
- Pin the fold around the whole leg
- Press the fold flat
- Stitch close to the top edge
- Try on and check before trimming
- Trim the bulk inside the fold
- Repeat on the second leg
Try On the Jeans and Pin the New Length
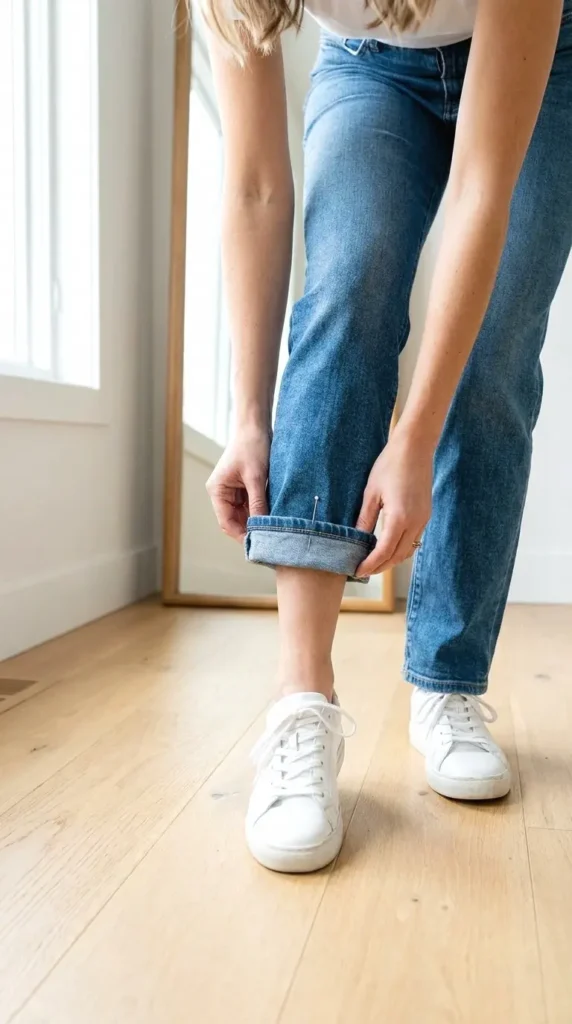
Put the jeans on with the shoes you’ll actually wear them with, since heel height changes everything. Fold the extra fabric under at the bottom until the hem sits where you want it, then slide a pin horizontally through both layers of denim to hold that fold in place. Do this on one leg only for now. Check the front, side, and back in a mirror before moving on, because jeans often look different from each angle than you expect.
Measure and Mark the Excess Fabric
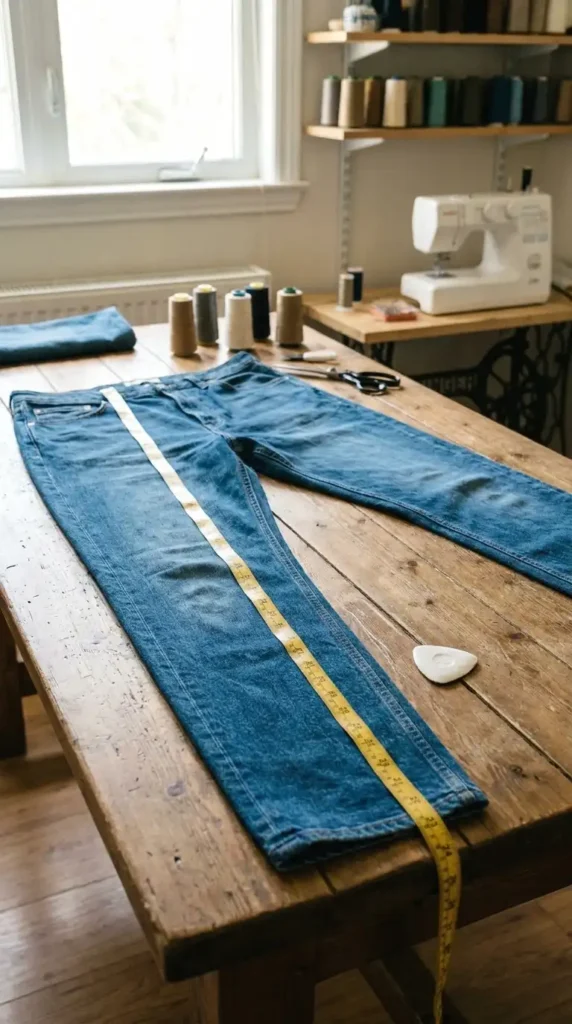
Take the jeans off carefully without disturbing your pin. Lay them flat on a table and measure from the bottom edge of the original hem up to your pin — this number is how much fabric you’re removing. Use tailor’s chalk to draw a straight line across the inside of the leg at that exact measurement. Double-check this number before marking the second leg, since a mismatched measurement is the most common reason petite hems come out uneven.
Turn the Jeans Inside Out
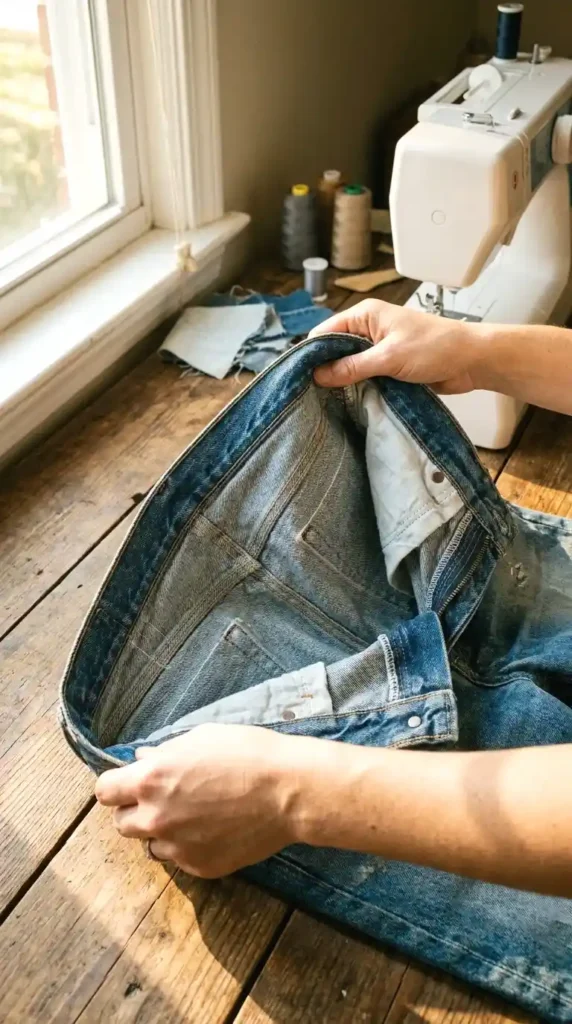
Flip both legs of the jeans so the inside faces out, keeping your chalk line visible. Working inside out matters here for two reasons: it keeps your stitching invisible from the outside, and it lets you see exactly where the fold needs to land against the original hem. Smooth out the fabric on a flat surface so there are no twists in the leg before you fold anything.
Fold the Excess Fabric Up to Meet the Original Hem
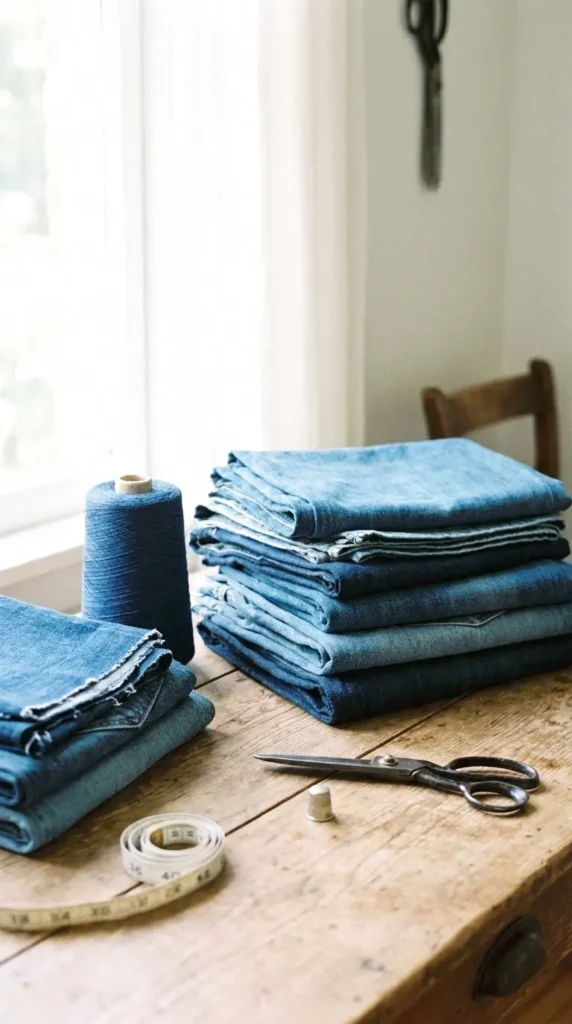
Bring the raw edge of denim up along your chalk line until it touches the bottom of the original hem from the inside. The two hems should sit stacked directly on top of each other, not offset. This is what preserves the factory stitching and fading on the outside of the jeans — nobody will ever see the fold you’re creating underneath it.
Pin the Fold in Place Around the Whole Leg
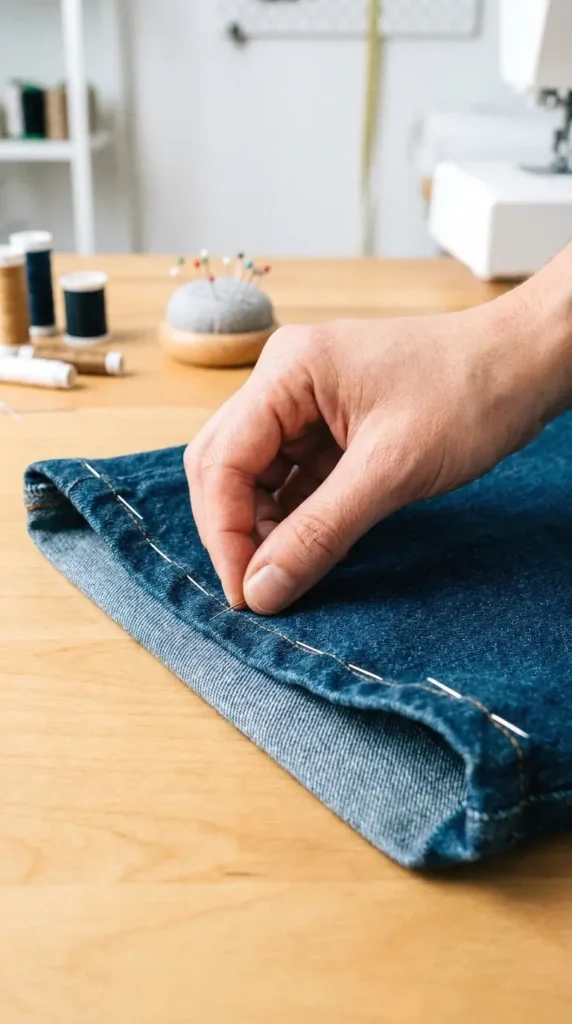
Working your way around the entire circumference of the leg, place a pin every 2 to 3 inches through all the layers. A few things to watch for while pinning:
- Keep the fold width consistent all the way around
- Check that the side seams line up front and back
- Smooth out any puckering as you go
- Avoid stretching the denim while pinning
An uneven fold at this stage means an uneven hem later, so it’s worth slowing down here.
Press the Fold Flat With an Iron

Set your iron to the cotton or high heat setting and press directly along the folded edge, holding it in place for about 5 seconds per section. Move the pins out of the iron’s path as you go instead of ironing over them, since pins can leave marks on hot denim. This crease is what will guide your stitching line, so a crisp press now saves you from a wobbly seam later.
Stitch Close to the Top Edge of the Fold
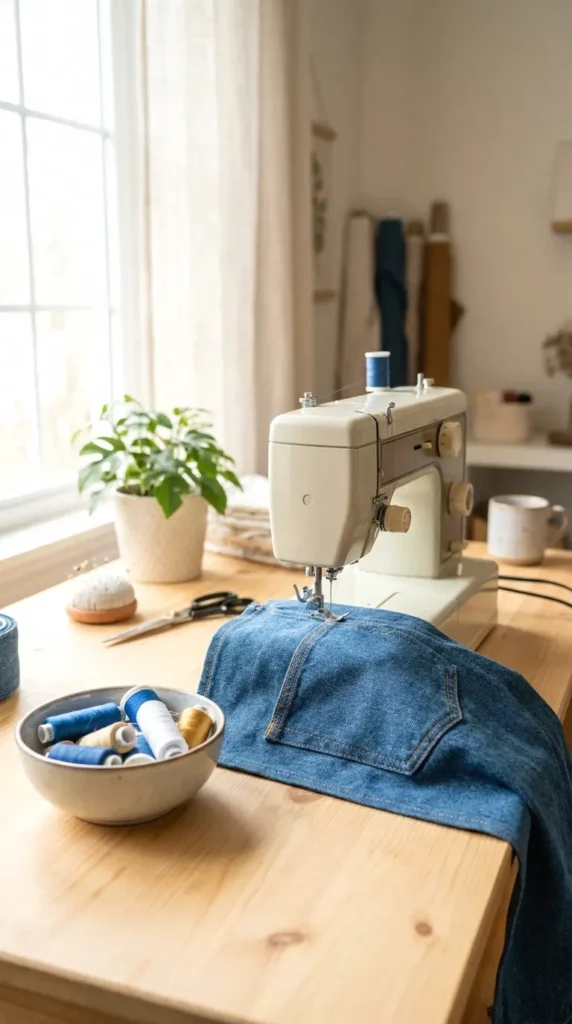
With the jeans still inside out, sew a straight line about 1/4 inch below the top edge of the folded fabric, removing pins as you go rather than sewing over them. A denim needle matters here — a regular needle can bend or snap on the thick, layered fabric at the inseam. Go slowly through the side seams, since that’s where the layers stack up the most.
Turn the Jeans Right Side Out and Try Them On

Nothing confirms a good hem like actually wearing it. Slip the jeans on with the same shoes from step one and check the length in a mirror from every angle. If the length is off by more than a small amount, this is the moment to unpick the stitching and adjust — not after you’ve trimmed the excess fabric in the next step.
Trim the Bulk From Inside the Fold
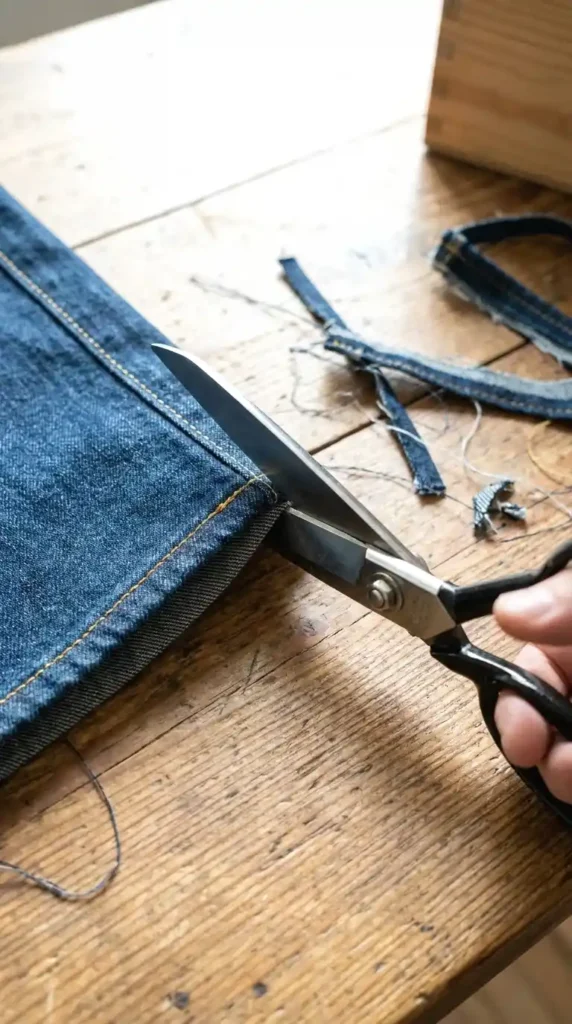
If you’re happy with the fit, turn the jeans back inside out and trim the folded-up fabric down to about 1/2 inch above your new stitch line using sharp fabric scissors. This step is optional, but it removes bulk that can show as a ridge under slim-fit jeans. Skip it entirely if you prefer a looser, boot-cut, or wide-leg style, since the extra fabric won’t be noticeable there.
Repeat on the Second Leg for a Matching Length
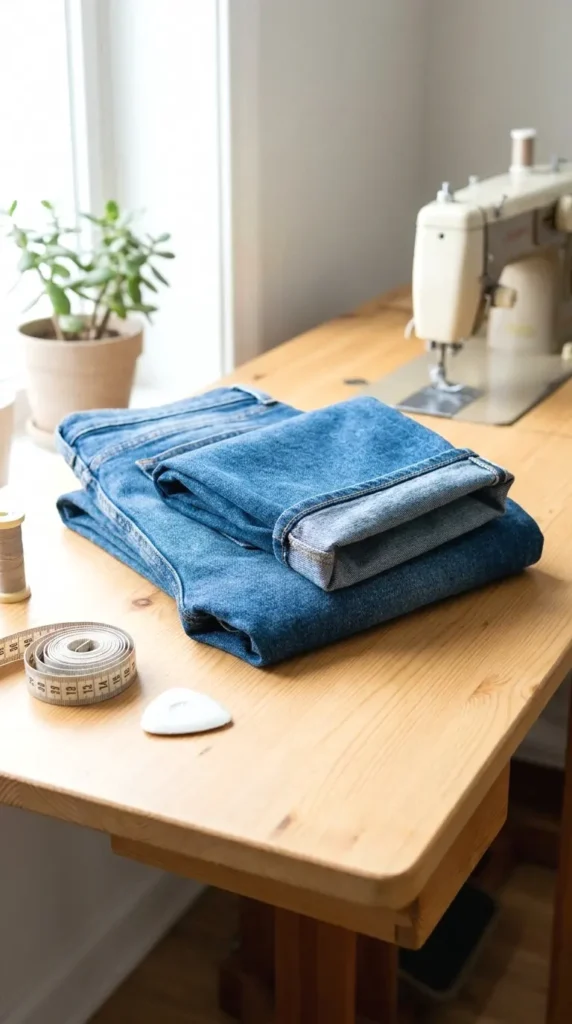
Use the exact same chalk measurement from step two to fold, pin, press, and stitch the second leg. Do not eyeball this leg against the first one, even if it looks close — small differences in fold width are easy to miss until you’re standing in front of a mirror with two uneven hems. Trim the bulk here too if you trimmed it on the first leg.
Common Mistakes
Common Mistakes to Avoid
Measuring while standing without shoes on. Heel height changes your hem length by an inch or more. Always measure in the shoes you plan to wear.
Folding the two legs to slightly different widths. Even a quarter-inch difference is visible once the jeans are on. Always use your written measurement, not a visual match.
Skipping the press before stitching. An unpressed fold shifts under the sewing machine, leading to a wavy stitch line instead of a straight one.
Sewing too close to the original hem. This can catch the factory stitching and pucker the outside. Leave a small gap between your new stitch line and the original hem.
Trimming before trying the jeans on. Once the excess fabric is cut away, you cannot let the hem back out if it ends up too short.
FAQ
Frequently Asked Questions
Can I hem jeans this way without a sewing machine?
Yes, but it takes longer. Use a strong needle and a doubled thread, and stitch a small backstitch instead of a straight machine stitch for durability.
Will this method work on skinny jeans?
Yes. Trimming the bulk in step 9 is especially important on skinny styles, since extra fabric shows more under a tight leg opening.
How much length can I remove this way?
This method works best for removing **1 to 3 inches**. Beyond that, the fold becomes too bulky and a traditional re-hem is a better choice.
What if my jeans have a colored or contrast stitch on the original hem?
Match your new thread color to the original topstitching so the two seams look intentional if either is ever visible.
Quick Reference Card
Quick Reference Card: Hemming Jeans for Petite Legs
What You Need:
Jeans, pins, tape measure, chalk, iron, sewing machine, matching thread, scissors
Steps:
- Try on and pin the new length
- Measure and mark the excess
- Turn jeans inside out
- Fold excess up to the original hem
- Pin around the whole leg
- Press the fold flat
- Stitch close to the top edge
- Try on and check before trimming
- Trim the bulk (optional)
- Repeat on the second leg
Conclusion
Your jeans finally fit — no puddle at the ankle, no lost hem. You kept the original stitching, the fading, and the details that made you love these jeans in the first place. Once you’ve done this on one pair, every pair in your closet that’s “almost right” becomes fair game. Save this pin so you can find it again next time a new pair needs the same fix.