
How to Hem a Wedding Dress for a Petite Frame Without Ruining the Lace
If you’ve ever stood in front of a mirror in your wedding gown, three inches of fabric pooling under your heels, you already know the panic. Most petite brides face this exact moment. The gown is beautiful. The length is not. And when that gown has lace running along the hem, the usual fix — just cut and roll — turns into a real problem, because you can’t hem lace the way you hem plain fabric.
This guide walks you through how to hem a wedding dress for a petite frame while keeping the lace pattern intact at the new hemline. The trick is separating your lining from your lace overlay and treating them as two different problems, not one. You’ll trim the underlayers first, then carefully move the lace motifs down to meet the new edge, so the scalloped or floral border you fell in love with is still there — just a few inches higher.
Plan for 4 to 6 hours of total work, spread across a few sessions rather than one long sitting. This is not a rushed weeknight project. Rushing is exactly how lace gets cut in the wrong place.
- Well-fitted wedding shoes (the exact pair you’ll wear)
- Fine glass-head pins (20+)
- Fabric-marking pen or tailor’s chalk
- Sharp fabric shears and small embroidery scissors
- Seam ripper
- Clear nylon thread or matching lace-colored thread
- Beading needle or fine hand-sewing needle
- Iron and pressing cloth
- A second pair of hands (a friend or tailor’s dummy)
- Try on the dress with your shoes
- Mark the new hemline with pins
- Measure and record the amount to remove
- Study the lace pattern before cutting
- Separate the lace overlay from the lining
- Trim the underlayers first
- Cut away individual lace motifs near the new hem
- Press and prepare the new raw edge
- Reapply the salvaged lace motifs along the hem
- Hand-stitch the lace appliqués into place
- Finish the hem underneath the lace
- Steam the hem and do a final fitting
Try On the Dress With Your Wedding Shoes

Wear the exact shoes you plan to walk down the aisle in — not close enough, the exact pair. Even a 1-inch difference in heel height shifts the hem by that same amount. Stand on a flat, hard floor rather than carpet, since carpet distorts how the skirt falls. Have someone else in the room; petite frames make this a two-person job, since you cannot accurately see your own hemline from above.
Mark the New Hemline With Pins
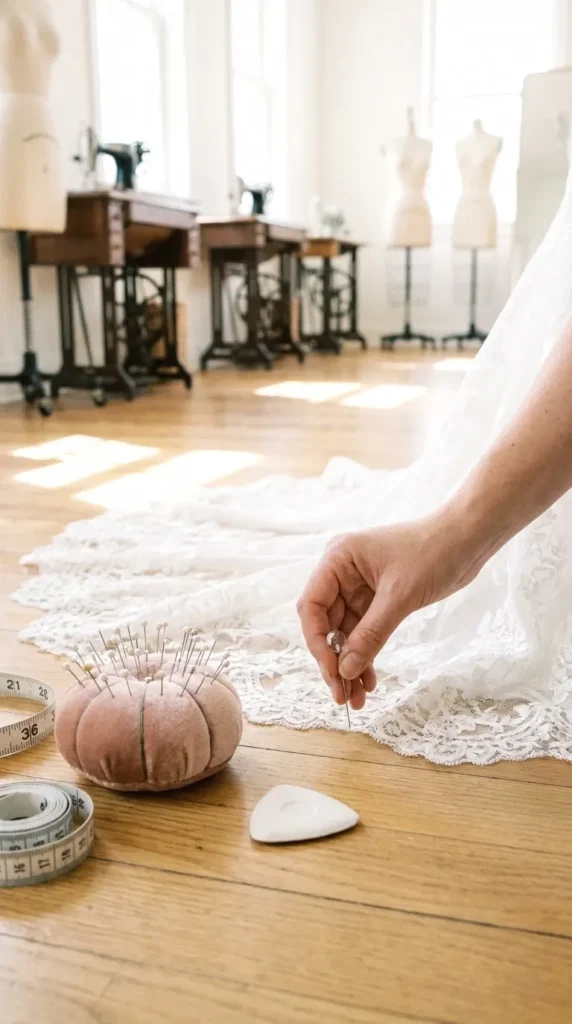
Have your helper kneel and place pins horizontally around the entire hem, working in 4-inch sections. They should measure up from the floor at each point rather than eyeballing it, since even a skilled eye drifts unevenly around a full skirt. Turn slowly in a full circle so every section gets checked. Stand still and resist the urge to look down — tilting your chin changes your posture, and your posture changes the drape.
Measure and Record the Amount to Remove
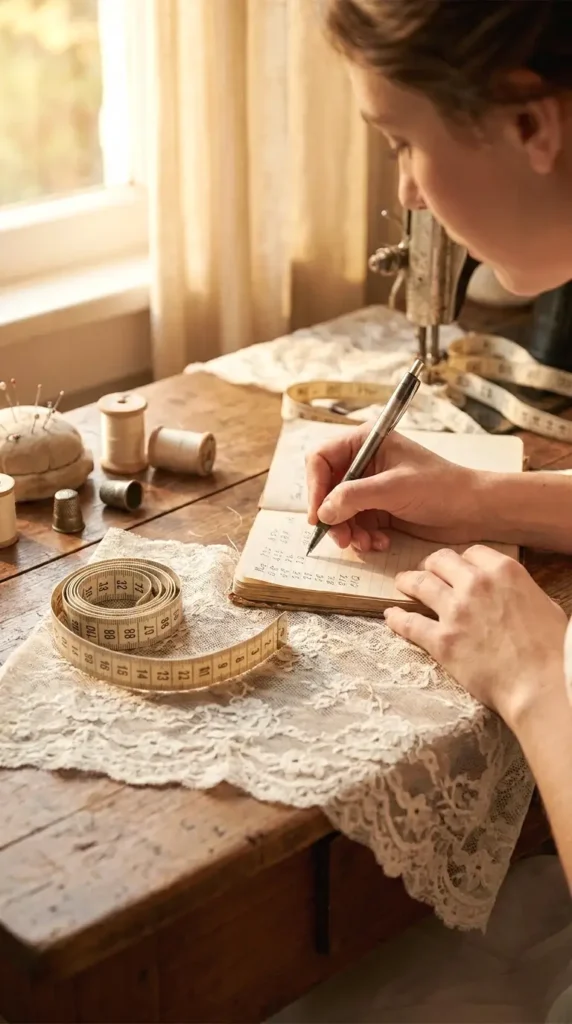
Once the pins are in place, measure from the original hem edge up to each pin and write the numbers down section by section. Don’t trust memory here. If the amounts vary — which they often do on a petite frame with curves — record the largest number as your starting point and note where the dress needs extra taken up. This written record becomes your map for every step that follows.
Study the Lace Pattern Before Cutting Anything
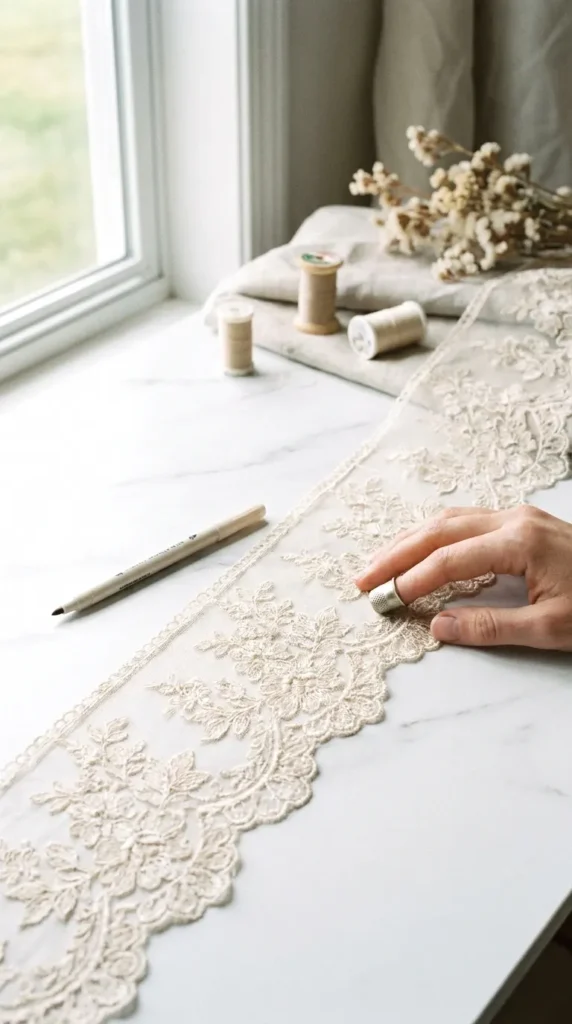
Lay the dress flat and look closely at how the lace motifs repeat along the hem — most petite alterations fail right here, at this looking-before-cutting stage. Trace the outline of each motif near your marked pins with a fabric pen so you know exactly where one flower or scallop ends and the next begins. If the repeat is irregular, photograph it from directly above for reference later.
Three things to check before moving on:
- Where does a full motif sit closest to your new hemline?
- Are any motifs already cut or overlapped from the original hem?
- Is the lace stitched flat, or does it have raised, dimensional threadwork?
Separate the Lace Overlay From the Lining
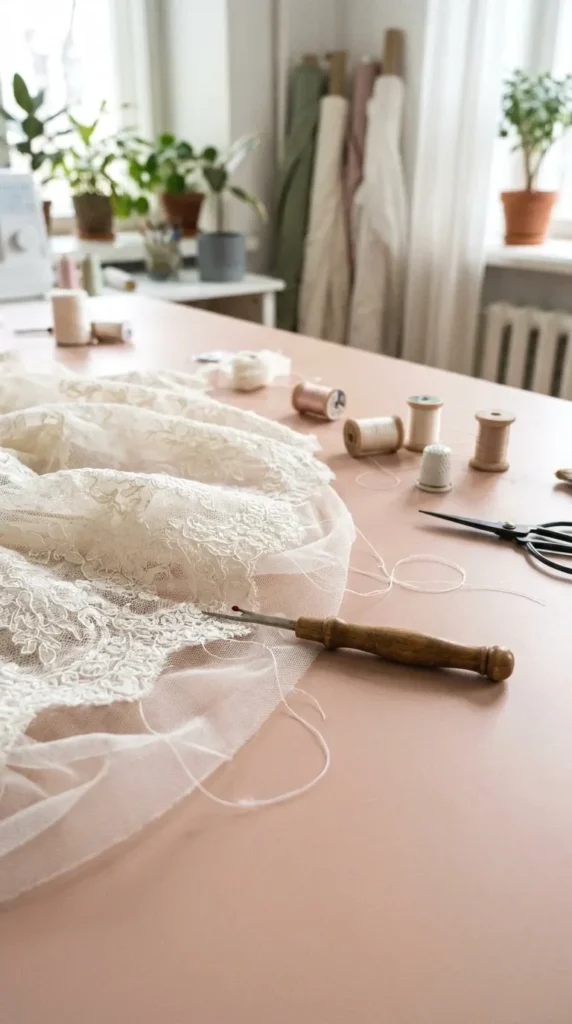
The lace and the lining underneath are almost always two separate layers, even though they move as one. Use your seam ripper to gently release the lace from the lining at the side seams, working up 3 to 4 inches above your new hemline mark. Go slowly — a rushed seam ripper slips and nicks the tulle. You now have two independent layers to work on instead of one fused mess.
Trim the Underlayers First
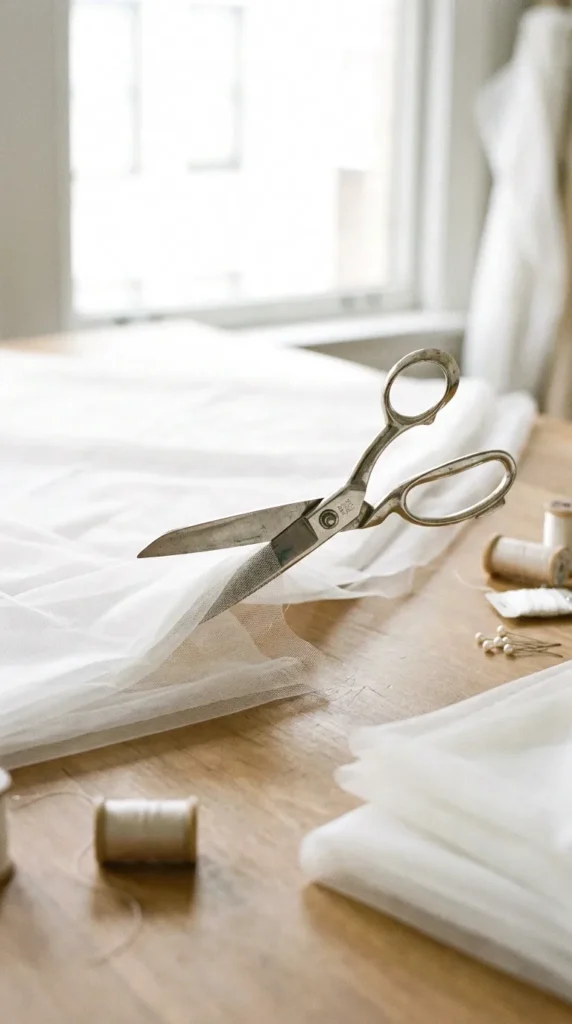
With the lace pulled up and pinned out of the way, cut the lining and any structural underskirt to your recorded measurement plus 1 inch for a folded hem allowance. This layer has no delicate pattern to protect, so it’s the safest place to make your first real cut and build confidence before touching the lace. Serge or zigzag the raw edge now, while it’s easy to reach.
Cut Away Individual Lace Motifs Near the New Hem
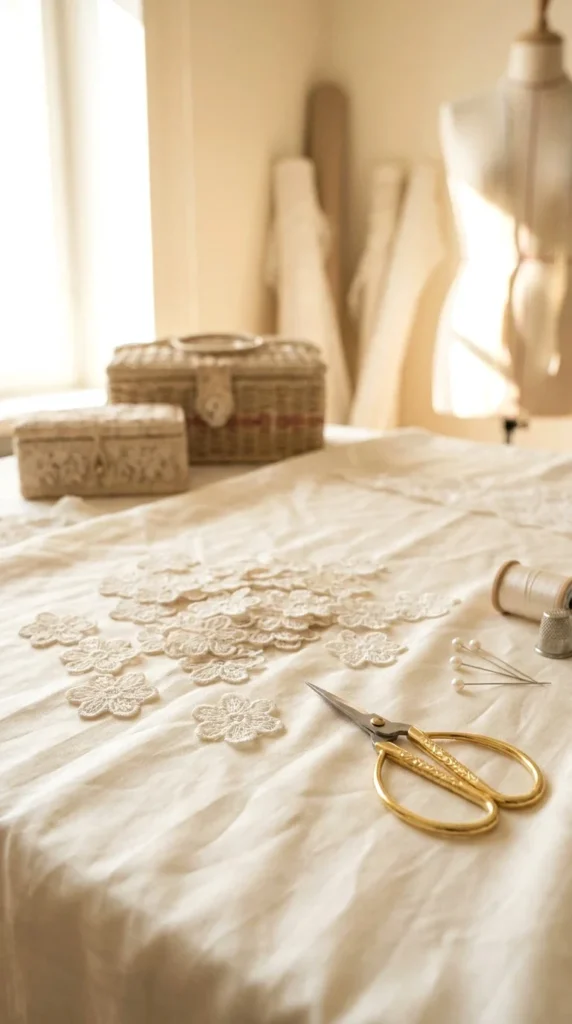
This is the step that decides whether the dress still looks intentional. Using small embroidery scissors, cut around the outline of each individual motif you traced earlier, following its curved edge rather than slicing straight across the fabric. Work motif by motif, not in one continuous line. A motif cut in half looks like an accident; a motif cut whole and moved looks like design.
Press and Prepare the New Raw Edge

Set your iron to a low, synthetic-safe setting and press a pressing cloth over the freshly trimmed edge — direct heat on lace-adjacent tulle can scorch or melt it in seconds. Fold the lining hem up 1 inch and press it flat so it holds its shape without pins. This gives you a clean, stable base to build the lace back onto in the next step.
Reapply the Salvaged Lace Motifs Along the Hem
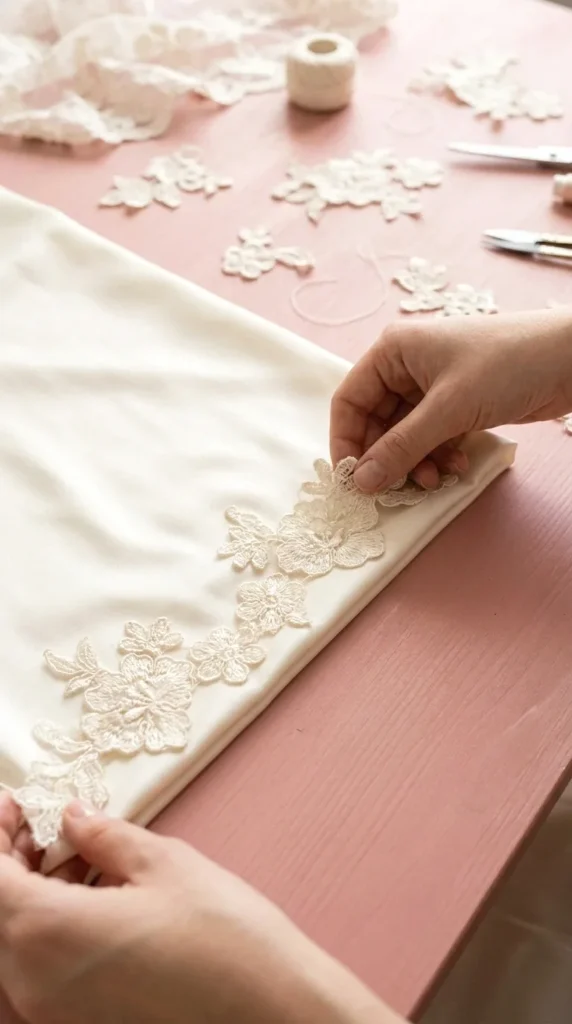
Lay the pressed hem flat and arrange your salvaged motifs along the new edge, using your earlier photo as a placement guide. Aim to recreate the original spacing rather than crowding motifs together to use every piece. A few things matter here:
- Overlap each motif slightly onto the hem fold, not just up to the edge
- Keep the pattern direction consistent with the rest of the skirt
- Pin loosely first and step back to check the line before committing
Hand-Stitch the Lace Appliqués Into Place
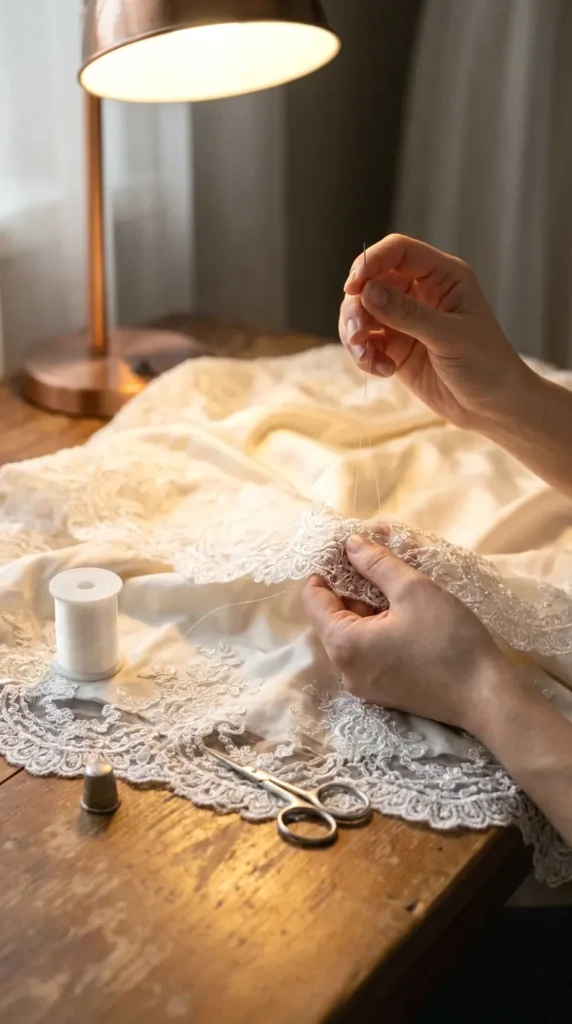
Thread a beading needle with clear nylon thread or thread matched to your lace color, and secure each motif with small, hidden stitches worked around its outer edge. Catch only a few threads of the lace itself so nothing shows on the right side. Work slowly around the curves — this single step often takes 1.5 to 2 hours on a full hem, and rushing it is the fastest way to end up with visible thread or puckered lace.
Finish the Hem Underneath the Lace
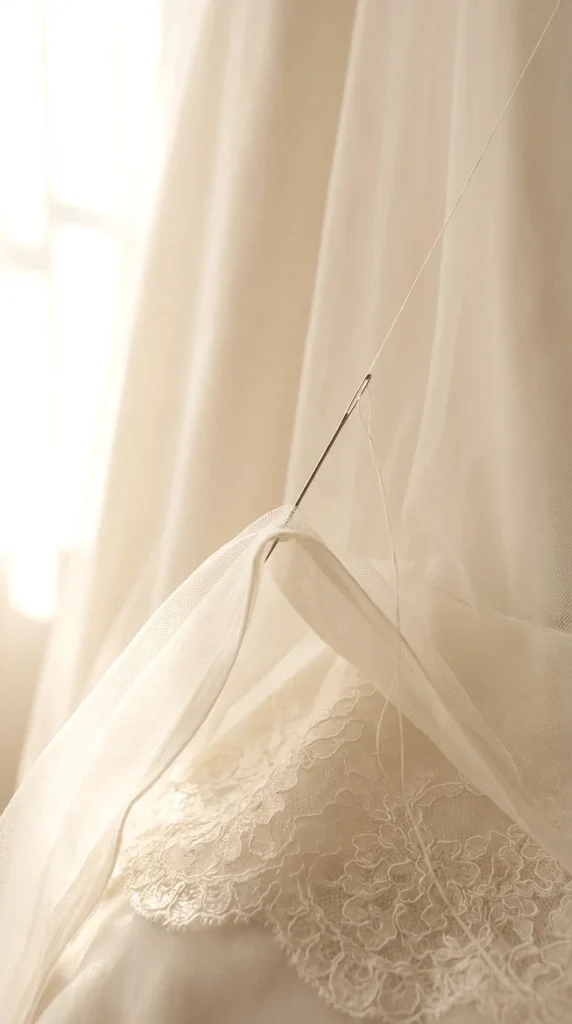
Once every motif is secured, lift the lace gently and hand-stitch the folded lining hem underneath using a blind hem stitch. The lace overlay hides this stitching completely, so it doesn’t need to be invisible from the top, only secure. Check that the lace still lies flat and smooth over the finished hem before moving on.
Steam the Hem and Do a Final Fitting

Hang the dress and steam the entire hemline from a few inches away, letting the steam relax the lace and lining without pressing directly on the fabric. Try the dress on one more time with your wedding shoes, and have your helper check the hem circle around the whole skirt. If any section still hangs a touch long, note it now — small adjustments are far easier before the big day than the morning of.
- Try on dress with wedding shoes
- Mark new hemline with pins
- Measure and record amount to remove
- Study lace pattern before cutting
- Separate lace overlay from lining
- Trim underlayers first
- Cut away lace motifs near new hem
- Press and prepare new raw edge
- Reapply salvaged lace motifs
- Hand-stitch lace appliqués into place
- Finish hem underneath the lace
- Steam hem and do final fitting
Conclusion
Your gown is shorter now, and the lace still tells the same story it did on the hanger. That’s the whole goal — a hem that looks like it was always this length. Try walking in it once more with your shoes on, just to feel how it moves. If you’re already thinking about your veil or reception shoes next, save this guide now so it’s easy to find again before your final fitting.