
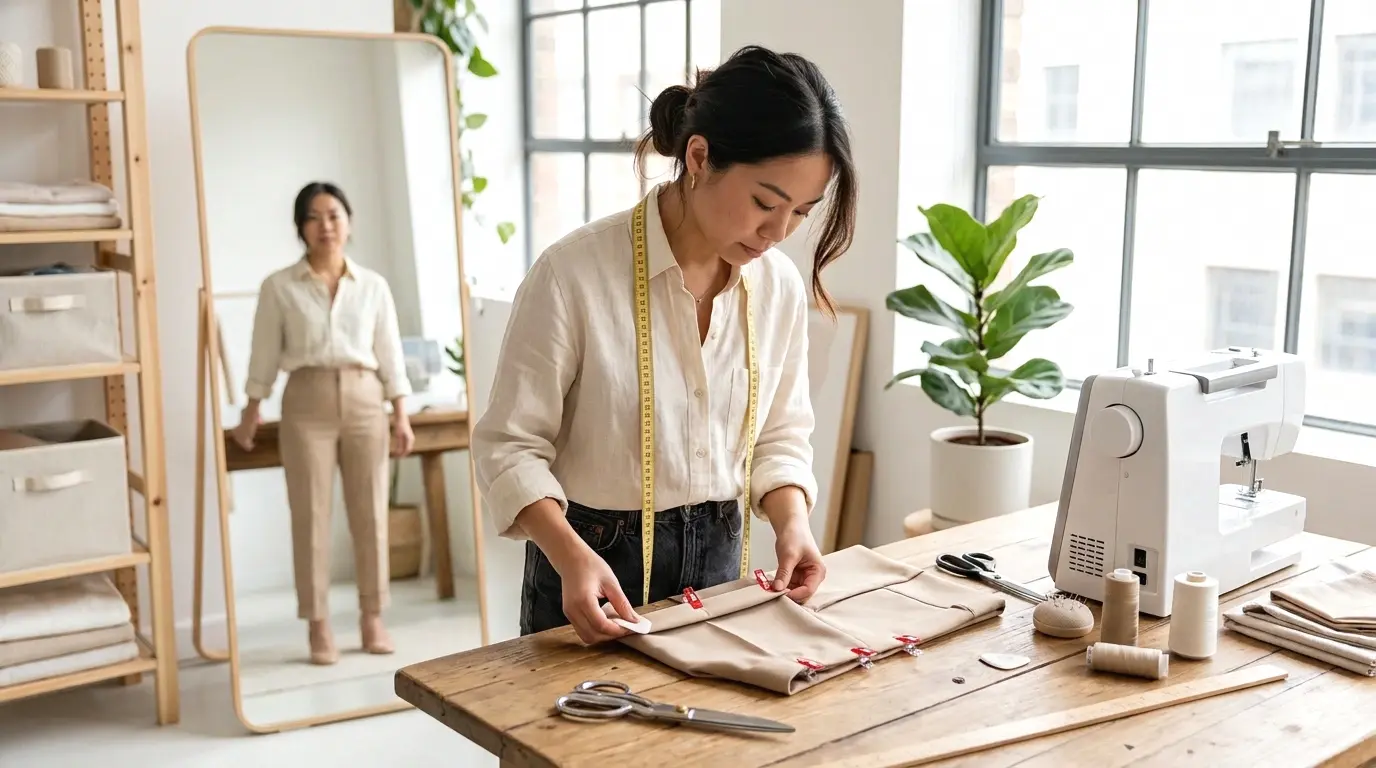
How to Hem Pants Petite Style Without a Tailor | Step-by-Step Guide
If you’re petite, you know the drill: you find work pants that fit everywhere except the length, and suddenly you’re either stepping on frayed hems or paying a tailor $15 to $25 just to make them wearable. Learning how to hem pants petite style means working with your actual proportions instead of guessing — and you don’t need a sewing machine, a pattern, or years of practice to do it right.
This guide walks you through the whole process: trying the pants on to find your true hemline, marking and cutting with room for error, and stitching a hem that hangs clean at the shoe. The hands-on work takes about 45 minutes per pair once you’ve done it once. The trickiest part isn’t the sewing — it’s getting the measurement right the first time, which is exactly where most people rush and regret it later.
Grab the pants, a pincushion, and a flat surface, and let’s get that hem sitting exactly where it should.
What You Need
- The work pants you’re hemming
- The shoes you plan to wear with them
- Straight pins (a full pack)
- Tailor’s chalk or a fabric marking pen
- Fabric scissors
- A ruler or measuring tape
- Needle and matching thread (or a sewing machine)
- An iron and ironing board
At a Glance
- Put on the pants with the right shoes
- Pin the new hemline standing straight
- Mark your fold line with chalk
- Lay the pants flat
- Measure and mark the cut line
- Cut off the excess fabric
- Fold and press the new hem
- Pin the hem in place
- Sew the hem by hand or machine
- Give the hem a final press
Put on the pants with the shoes you’ll actually wear
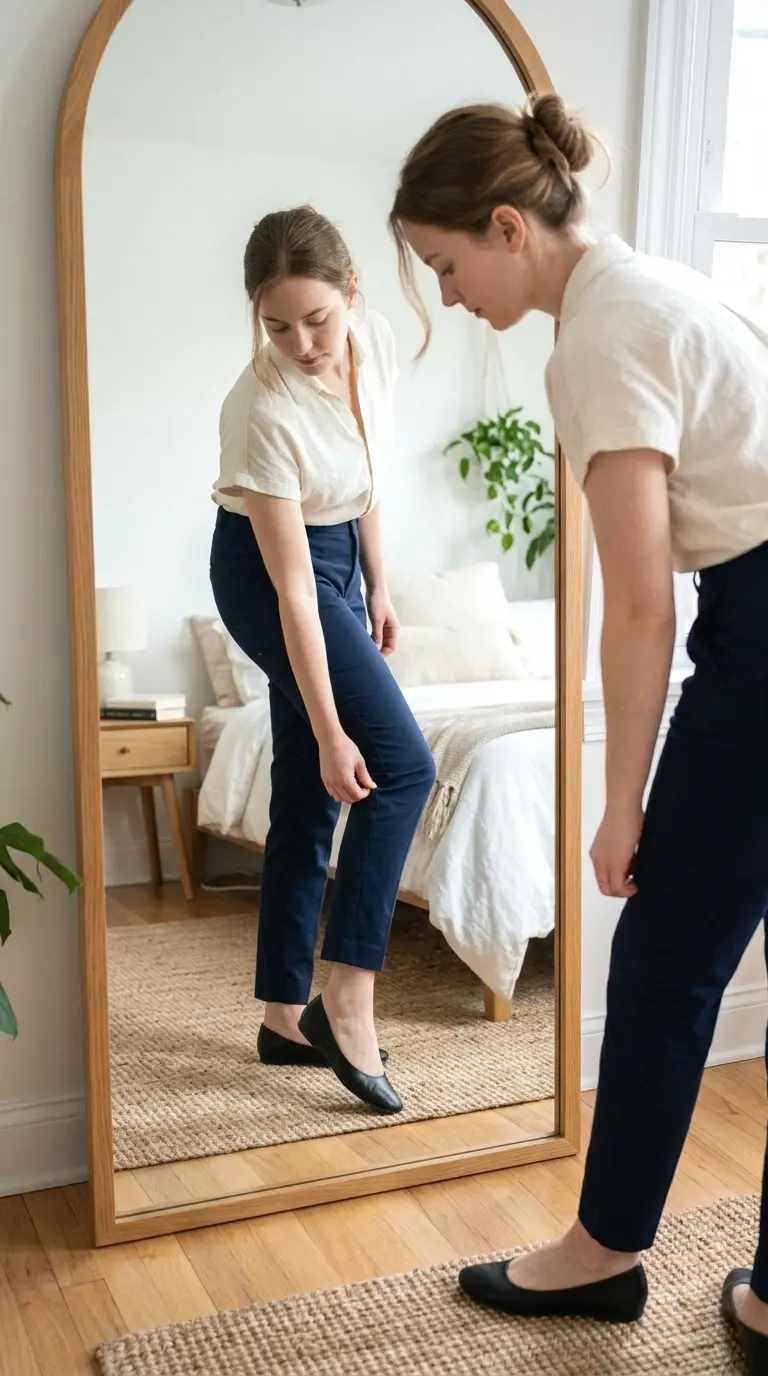
Skipping this step is the number one reason hems come out wrong. Heel height changes where the fabric should break, sometimes by 2 inches or more. Put on the exact shoes — sneakers, flats, or heels — you plan to wear with these pants most often, then step in front of a mirror. If you’ll wear both flats and heels with the same pair, pick the height you’ll reach for more often and hem for that.
Pin the new hemline while standing straight
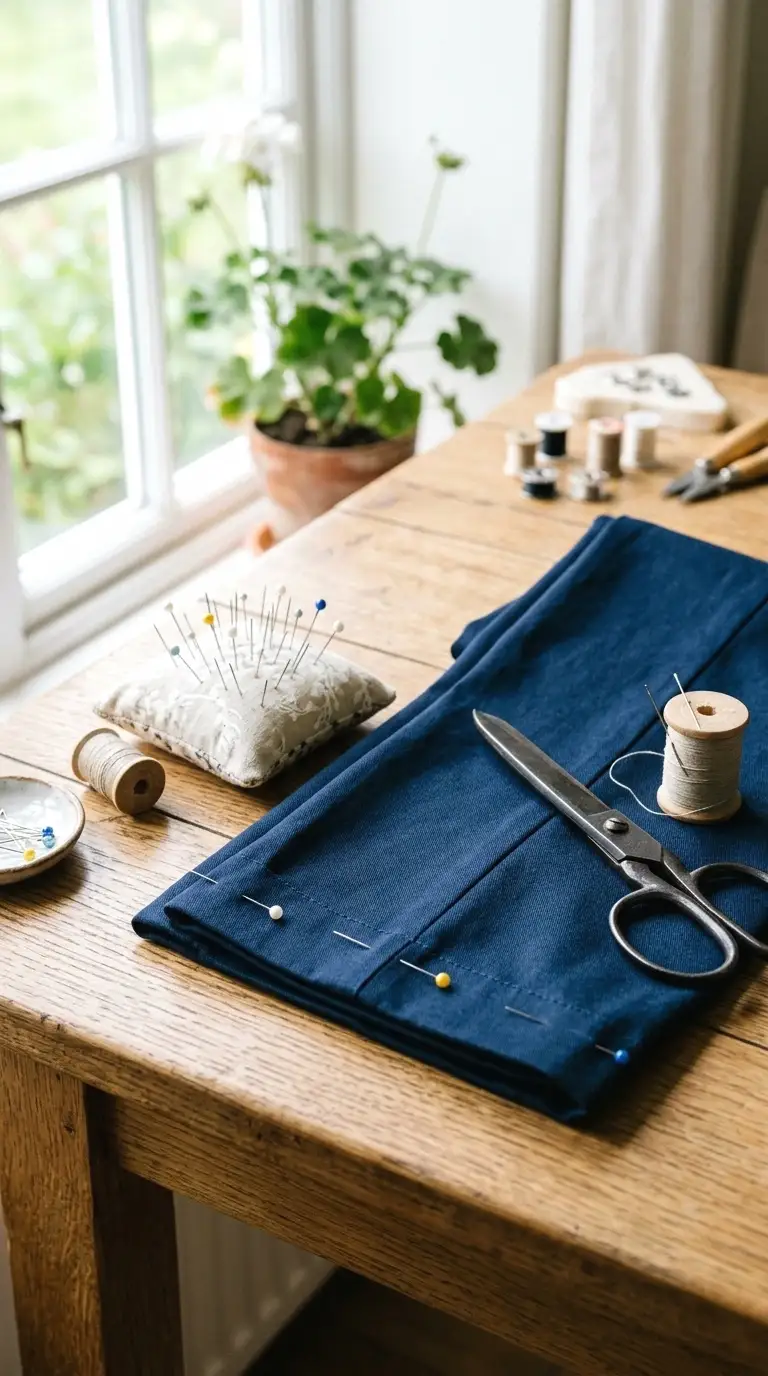
Stand naturally, feet flat, weight even on both legs — leaning to one side throws off the whole line. Reach down and fold the excess fabric up and under, right where you want the pant to end, then slide a pin through both layers to hold it. Work in small sections: fold 2 inches, pin, move over, fold again. Check the mirror often. A friend can help here, but it’s doable solo if you go slowly.
Mark your fold line with tailor’s chalk
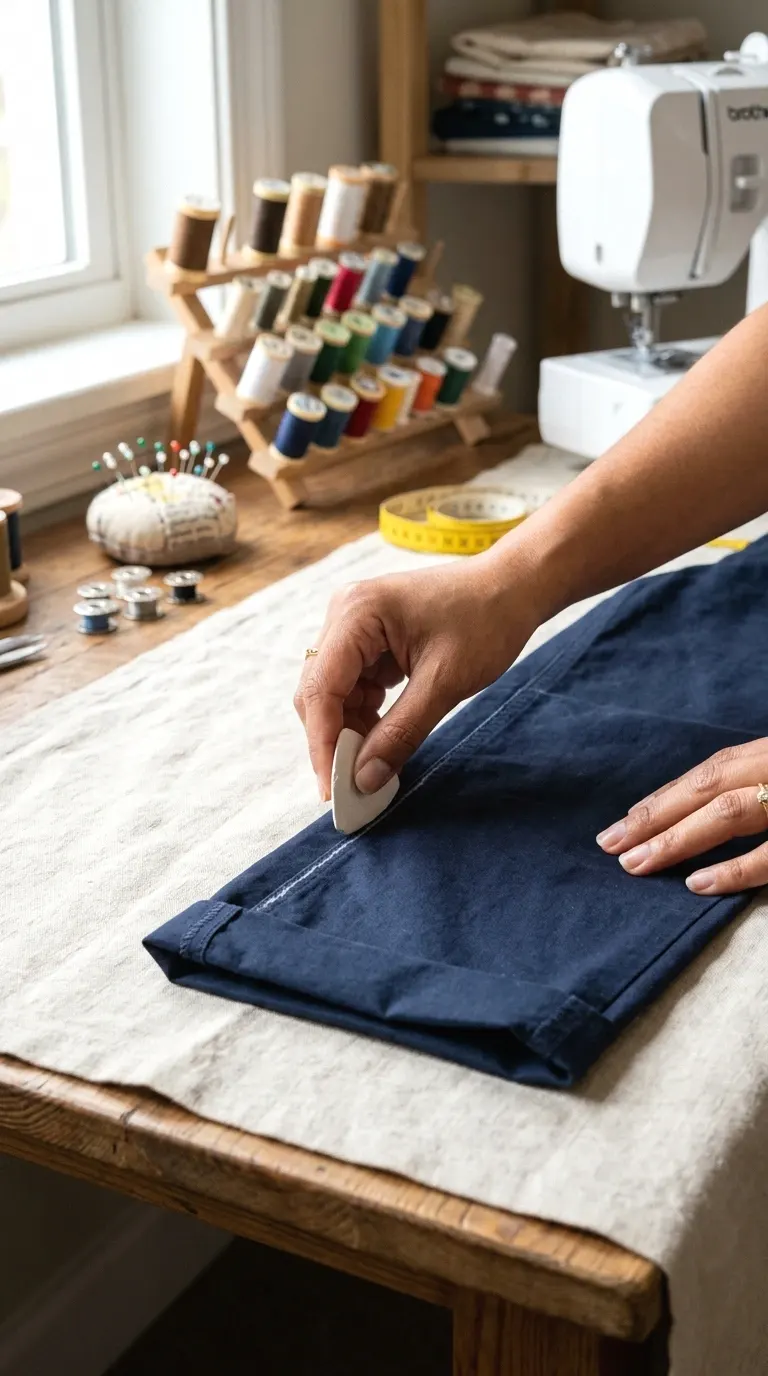
Once every pin is placed and the hemline looks even in the mirror, trace directly along the top edge of each fold with tailor’s chalk or a fabric pen. This chalk line is your real, permanent reference — the pins can shift once you take the pants off, but chalk won’t. Go over each line twice so it stays visible through the next few steps. Don’t remove the pins yet.
Take the pants off and lay them flat
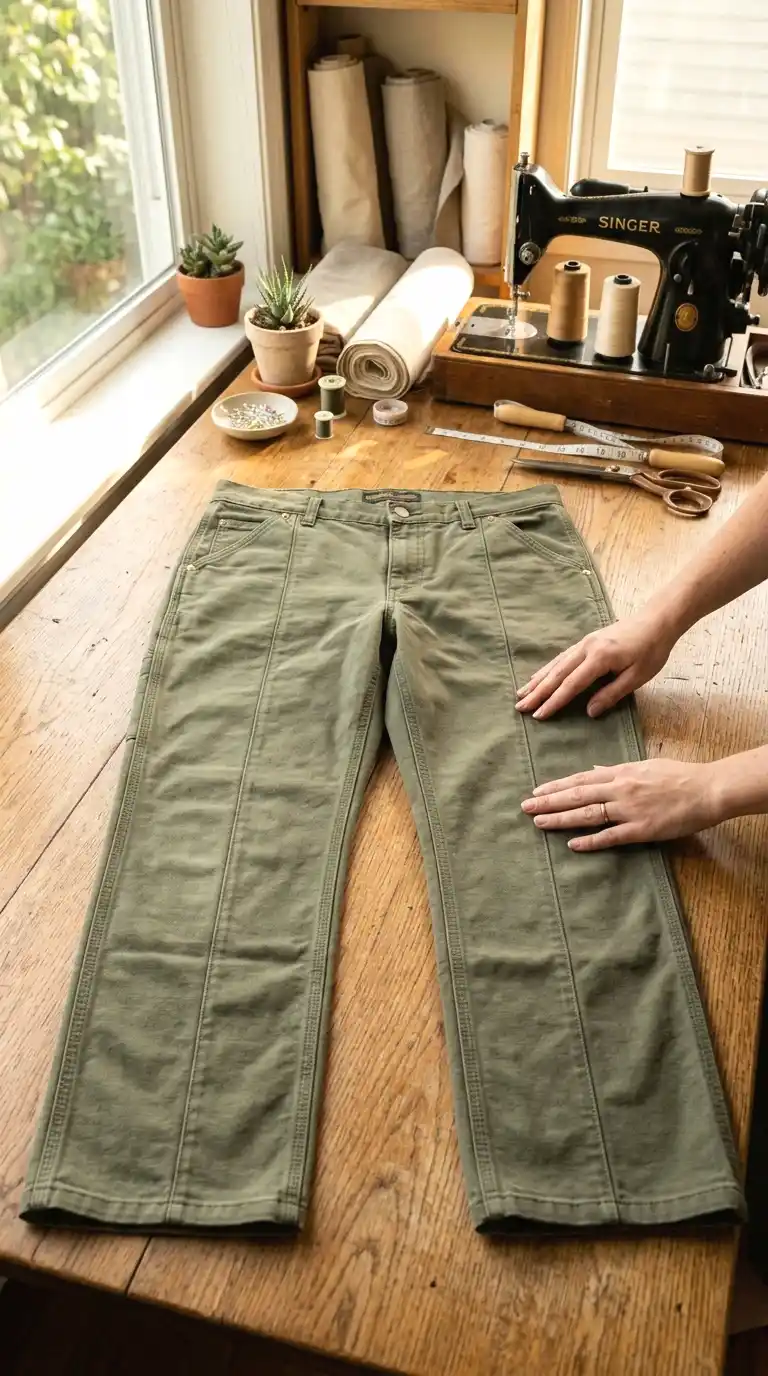
Remove the pants carefully so you don’t dislodge the pins, then lay them on a table or the floor, front leg flat and creases aligned. Match the inseam and outseam of the front leg exactly on top of the back leg — any twist here transfers straight into a crooked hem. Smooth out wrinkles with your hand before moving to the next step.
Measure and mark the cut line below your fold
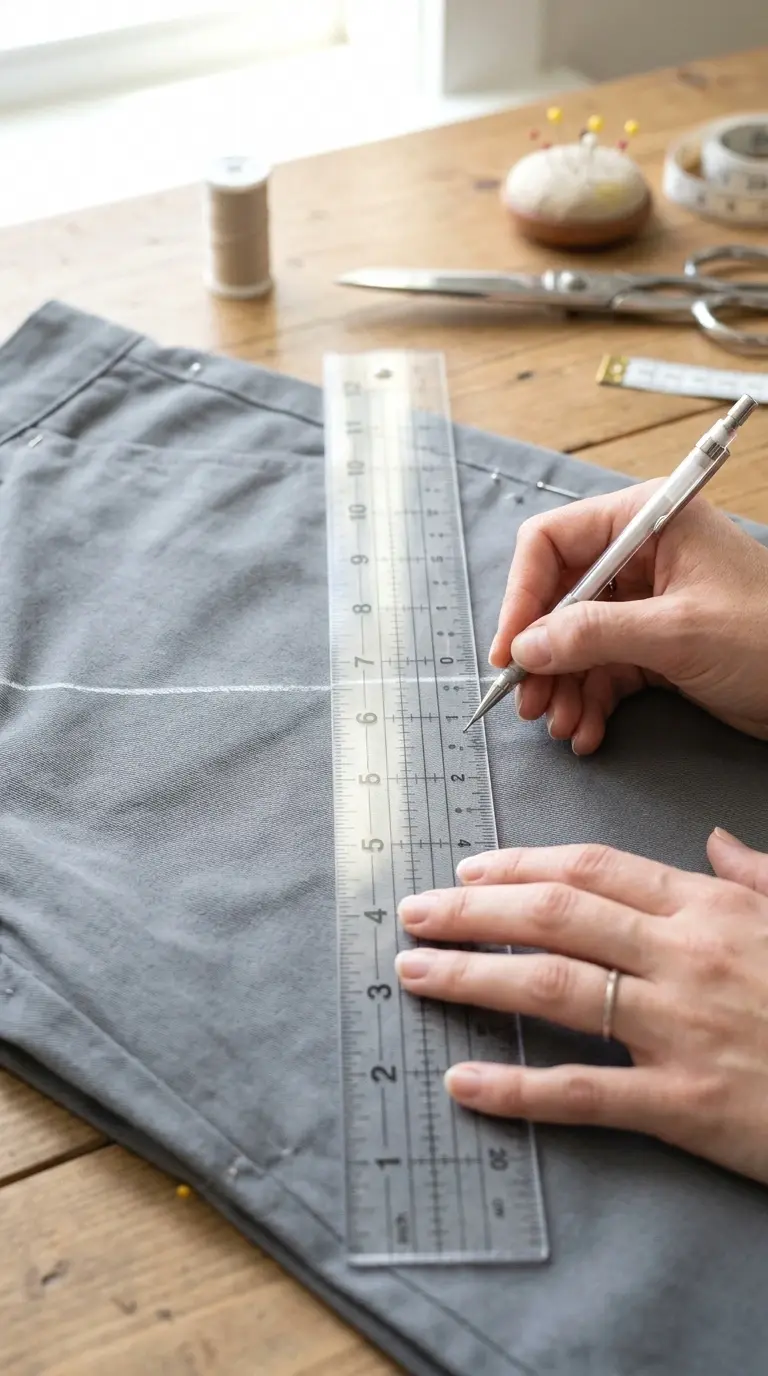
Your hem allowance is the extra fabric you’ll fold under twice to hide the raw edge, and most work pants need 1.5 inches for this. Using a ruler, measure down from your chalk line by that amount and mark a series of small dots across the fabric. Connect the dots into a straight line. If your fabric frays easily, add an extra half inch to give yourself more margin before hemming.
Cut off the excess fabric evenly
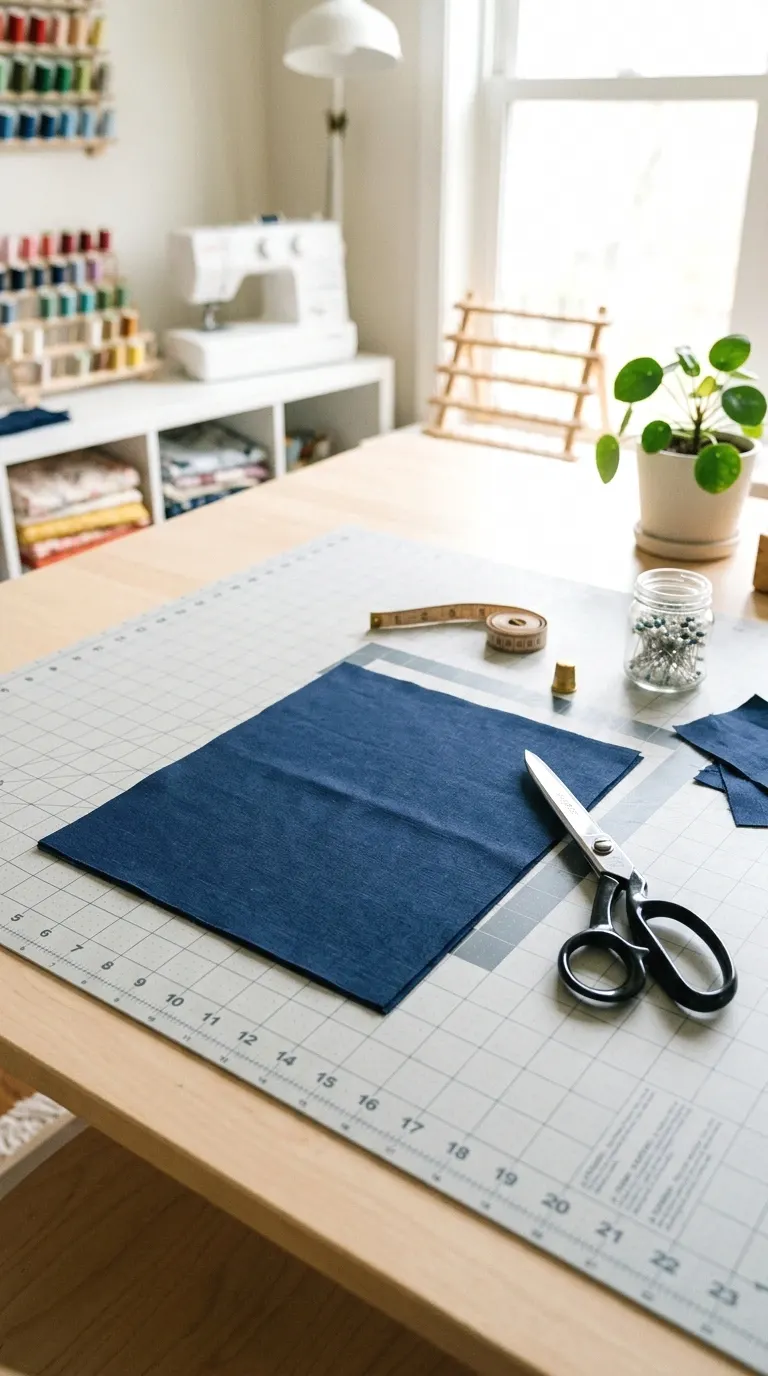
Use sharp fabric scissors, not craft scissors — dull blades chew the fabric edge instead of slicing it clean. Cut slowly along your marked line, following the same path on both the front and back layers together so the two sides match. Work in short strokes rather than one long cut; this keeps the line straighter, especially around curves near the seams. /
Fold and press the new hem
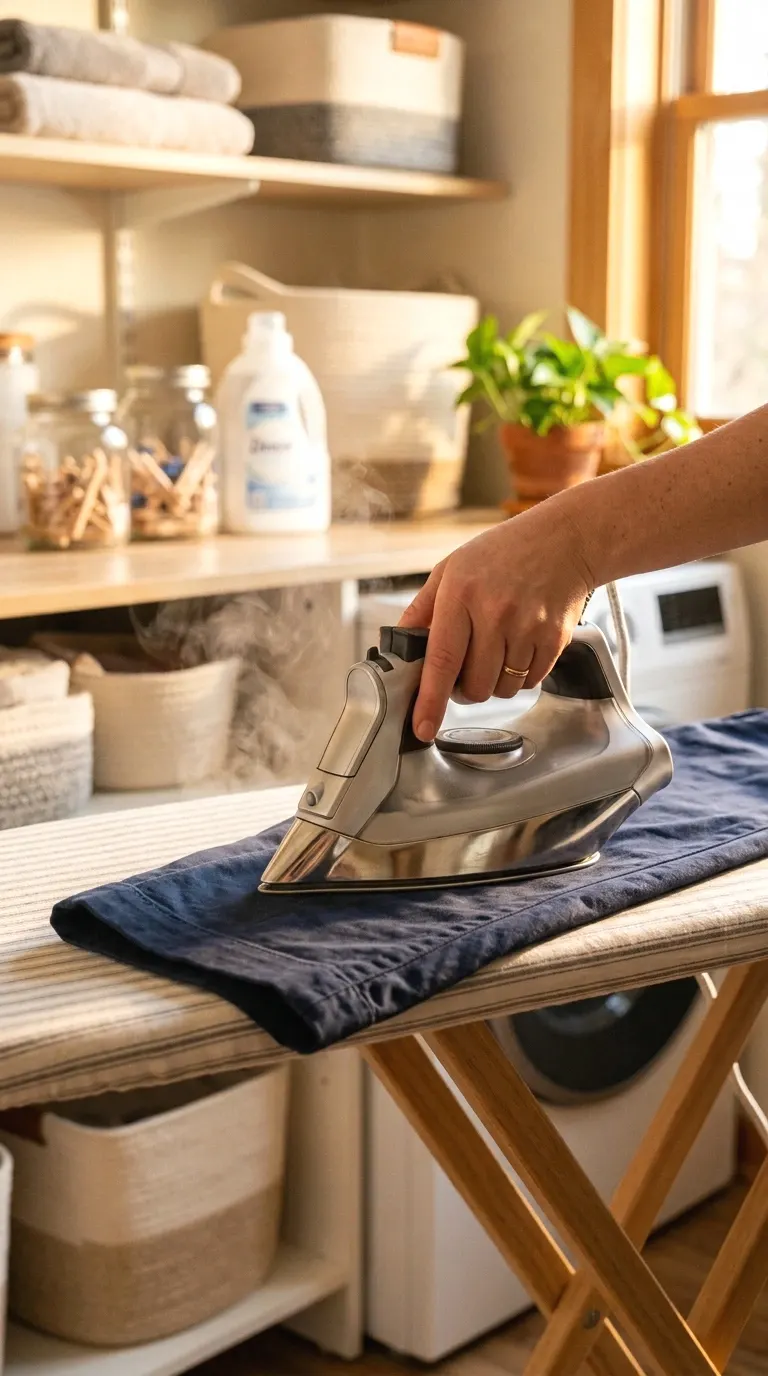
Turn the raw edge under by half an inch and press it flat with a warm iron — this hidden fold keeps the fabric from fraying once it’s sewn. Then fold up the whole hem again along your original chalk line, so the raw edge tucks completely out of sight. Press this second fold firmly, holding the iron in place for 5 seconds at a time rather than dragging it, which keeps the crease sharp.
Cotton and cotton-blend work pants hold a press well. If your fabric is polyester or a stretch blend, use a lower iron setting and a press cloth so you don’t leave a shine mark.
Pin the hem in place
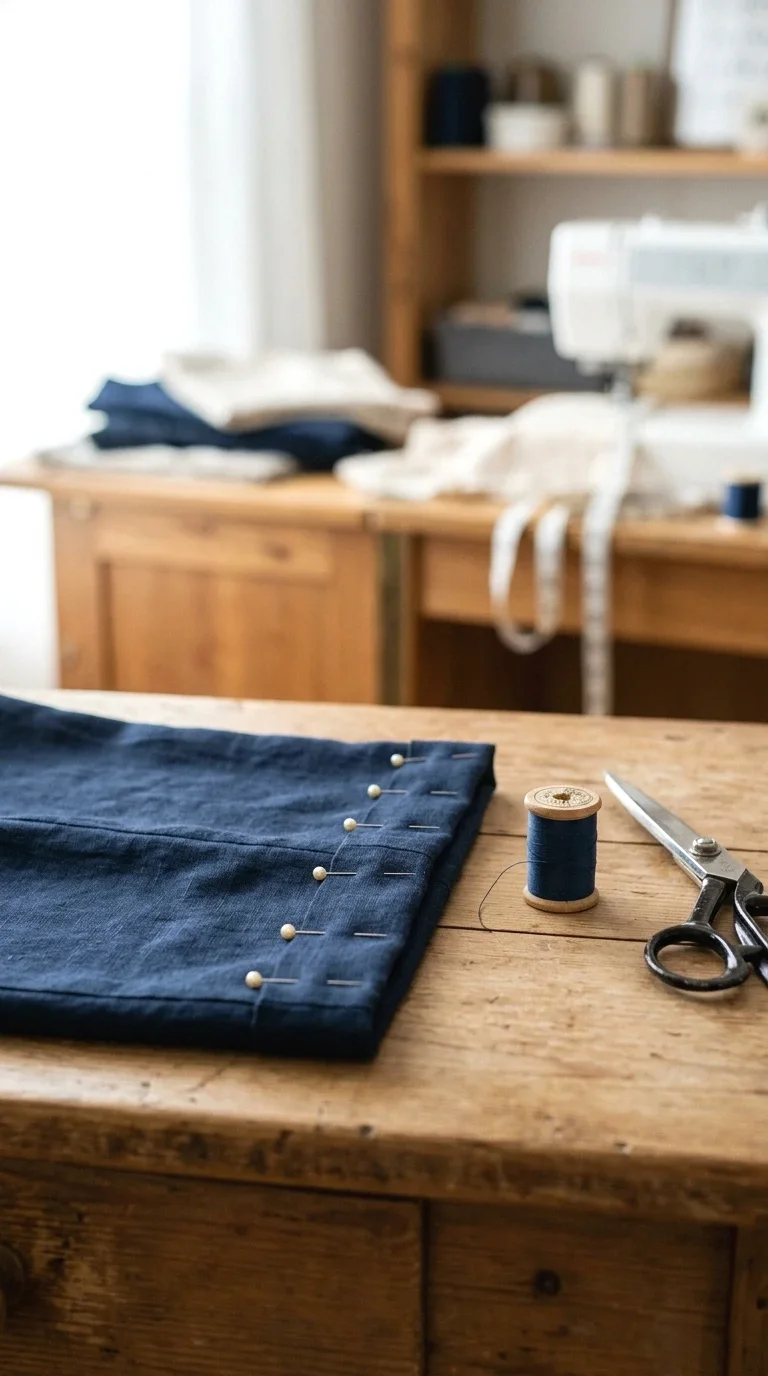
Slide pins through the folded hem every 2 to 3 inches, angling each pin so the point faces the same direction as your sewing motion — this stops you from stabbing yourself mid-stitch. Check both legs against each other by holding the pants up; the hems should land at the same length within a quarter inch. Small mismatches are normal and easy to fix now, before you sew.
Sew the hem by hand or machine
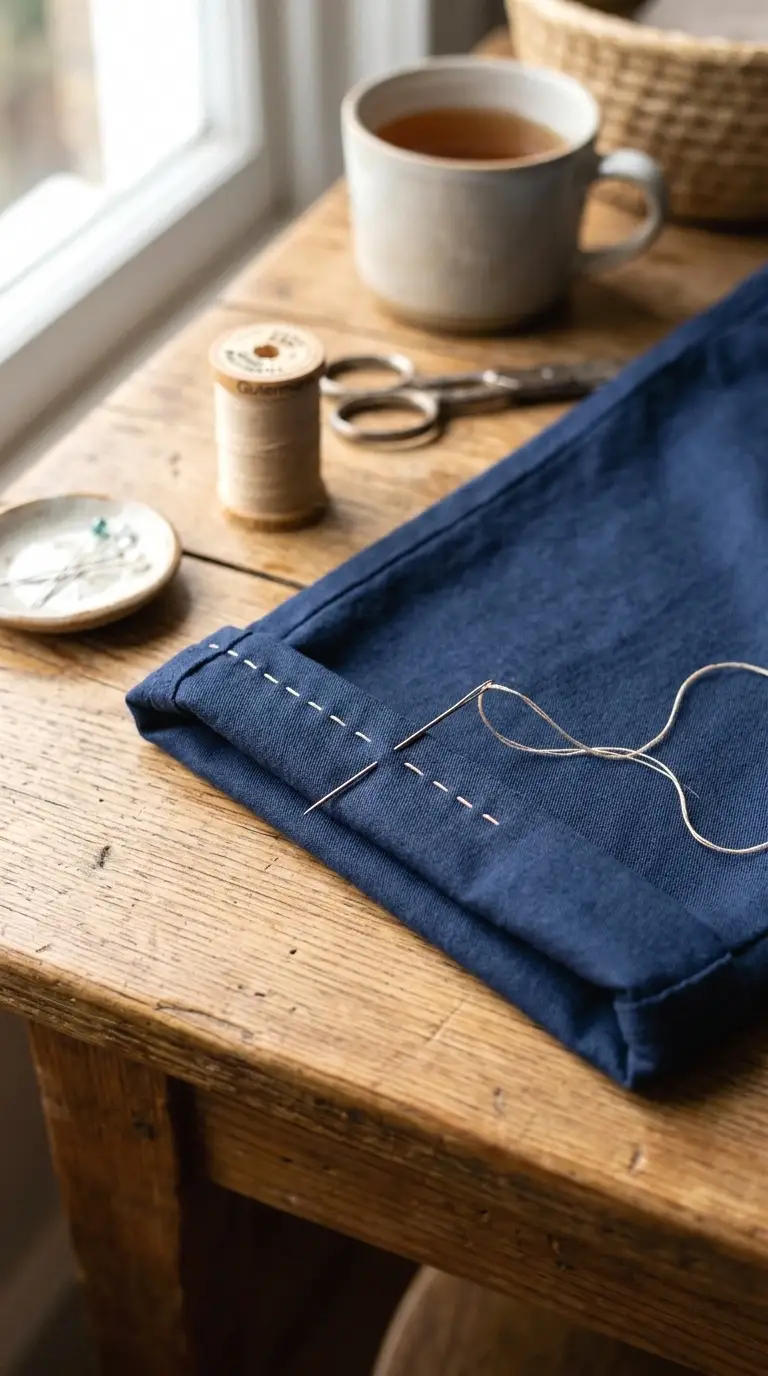
For a hand stitch, thread a needle with matching thread and use a blind hem stitch: catch just one or two threads of the outer fabric, then a bigger bite of the folded hem, repeating around the whole leg. This keeps stitches nearly invisible from the outside. If you’re using a machine, switch to a blind hem foot if you have one, or straight-stitch close to the fold’s inner edge.
Give the hem a final press
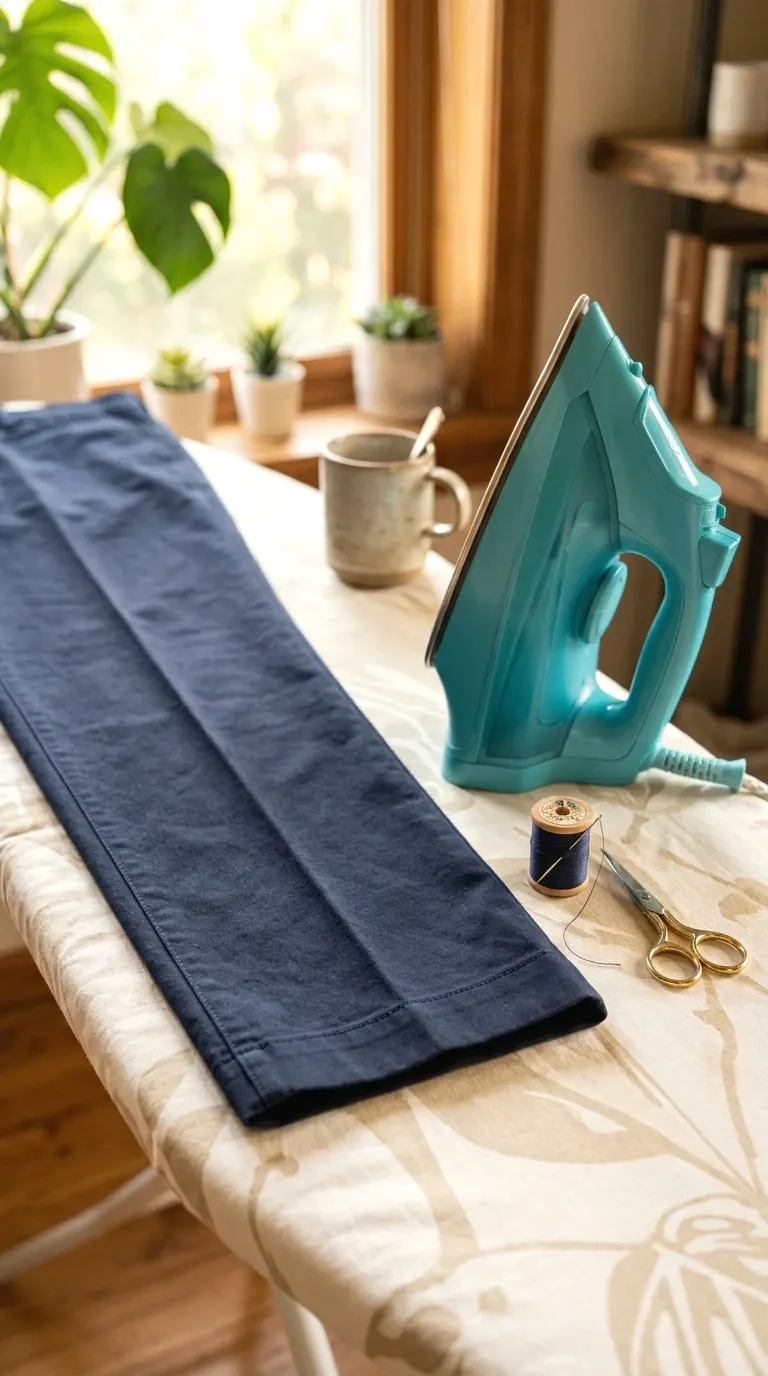
Turn the pants right-side out and press the hem one more time, working the iron along the fold to set the stitches flat. Check both legs from the front, standing normally, to confirm they break the same way at your shoe. If one side sits slightly higher, a quick re-press with a slight tug usually evens it out.
Common Mistakes
Marking the hemline in flat shoes when you meant to wear heels. The break point shifts by inches depending on heel height, so always pin in the actual shoes.
Cutting both pant legs separately instead of together. This almost always leads to two hems of slightly different lengths.
Skipping the first small fold before the final hem fold. Without it, the raw edge frays inside the hem over time.
Dragging the iron instead of pressing in place. Dragging can stretch or shine delicate fabrics.
FAQ
How much should I hem petite pants? Most petite frames need to remove 1 to 3 inches, but always measure on your own body rather than assuming a standard amount.
Can I hem pants without cutting the fabric? Yes — fold the excess up inside and stitch it in place, leaving the extra length hidden. This works well if you might want the original length back later.
What if my pants have a cuff? Unpick the existing cuff first, hem to length, then refold and re-stitch the cuff so it keeps its original look.
Do I need a sewing machine? No. A hand-sewn blind hem stitch holds up well for regular wear and is fully doable with just a needle and thread.
Quick Reference Card
- Put on pants with the right shoes
- Pin new hemline standing straight
- Mark fold line with chalk
- Lay pants flat
- Measure and mark cut line (add 1.5 inches allowance)
- Cut excess fabric
- Fold and press hem
- Pin hem in place
- Sew hem by hand or machine
- Final press
Conclusion
You just hemmed work pants to fit your actual frame — no tailor, no guessing. That crisp break at your shoe is going to make every pair in your closet look like it was made for you. Next time you thrift a great pair that’s just too long, you’ll already know exactly what to do. Save this pin so it’s ready the moment you need it again.